

In my last post, we covered creating a CI pipeline using TravisCI and GitHub Pages. Now let’s add coverage reports to the build setup.
Setting up Coveralls.io
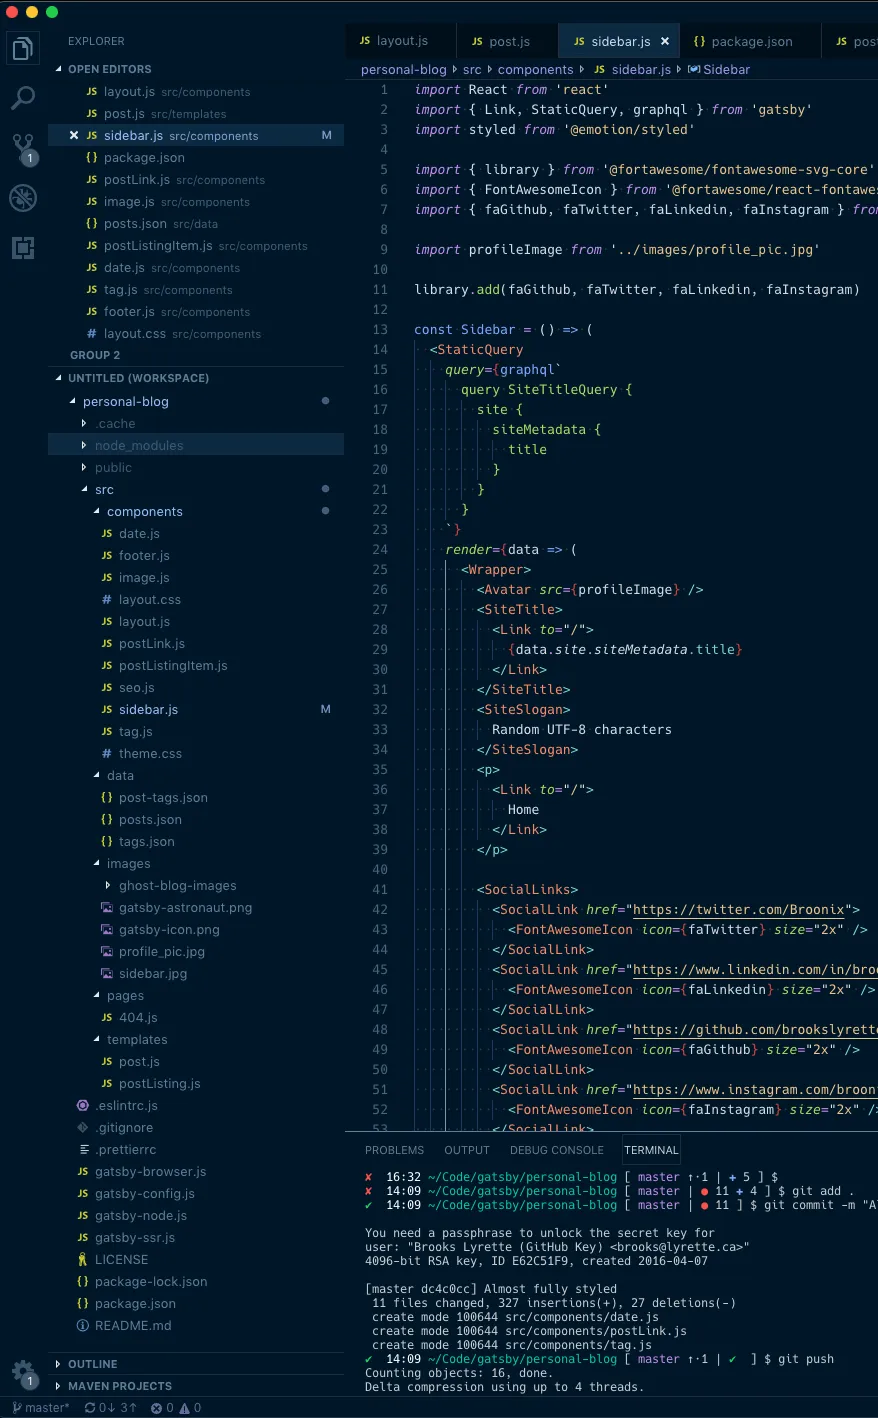
We will use coveralls.io to provide the reporting. They provide this for free to any public GitHub project. Head over to their site and create an account. After setting navigate to ‘Add Repos’ and toggle it to on for your project.
Now hit ‘details’ to get the token for this repo. You can ignore the instructions shown here. You just want to token. They don’t apply to a project built with react-create-app.

Setting up TravisCI
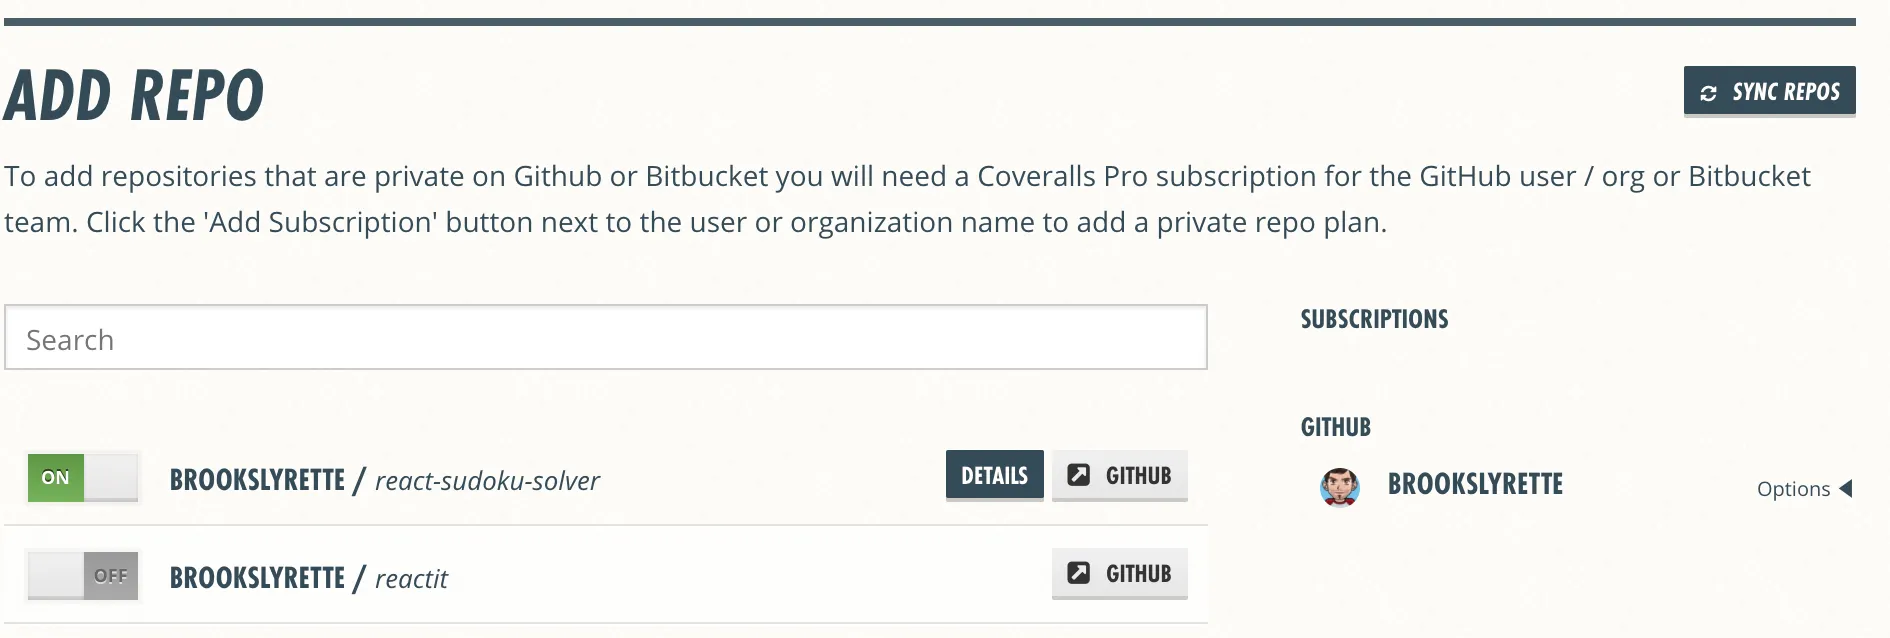
Your token is private and you shouldn’t check it into a public repo. So we will use TravisCI’s build settings to pass it into our build system. This way the token remains secure.
Adding Coveralls to your project
You’ll need to bring in the coveralls package.
yarn add --dev coveralls # yarn users
npm install --dev coveralls # npm users
Project configuration changes
Now we need to make a few tweaks to the project files. First, let’s make sure coverage gets ran with each build and that we upload the report to TravisCI.
Add a new target to packages.json that defines a coveralls task to parse the coverage files.
This is done in .travis.yml. We will make two changes. The first tells the tests to include coverage reporting, the second uploads the coverage report after each build.
Now commit and push these changes to GitHub. Once your build has completed you should see your first coverage report in Coveralls.io!
There you have it, now every new build includes a coverage report. You can even take the badge generated in coveralls and add it to your projects README.md.
You can see this setup in action here: https://github.com/brookslyrette/react-sudoku-solver
If you have any questions please leave them in the comments below. Happy Coding!