
It is surprisingly simple to deploy a public react-create-app built project on GitHub. In this post, we will look at how to set up a continuous integration pipeline using TravisCI and GitHub Pages.
Setting up Continuous Integration Builds
Continuous integration (CI) makes deploying an updated app so simple you don’t even have to think about it. After your commits are pushed to GitHub, a new build will get kicked off.
You will need to create a TravisCI account. After creating your account. You’ll be able to select which of your GitHub projects.
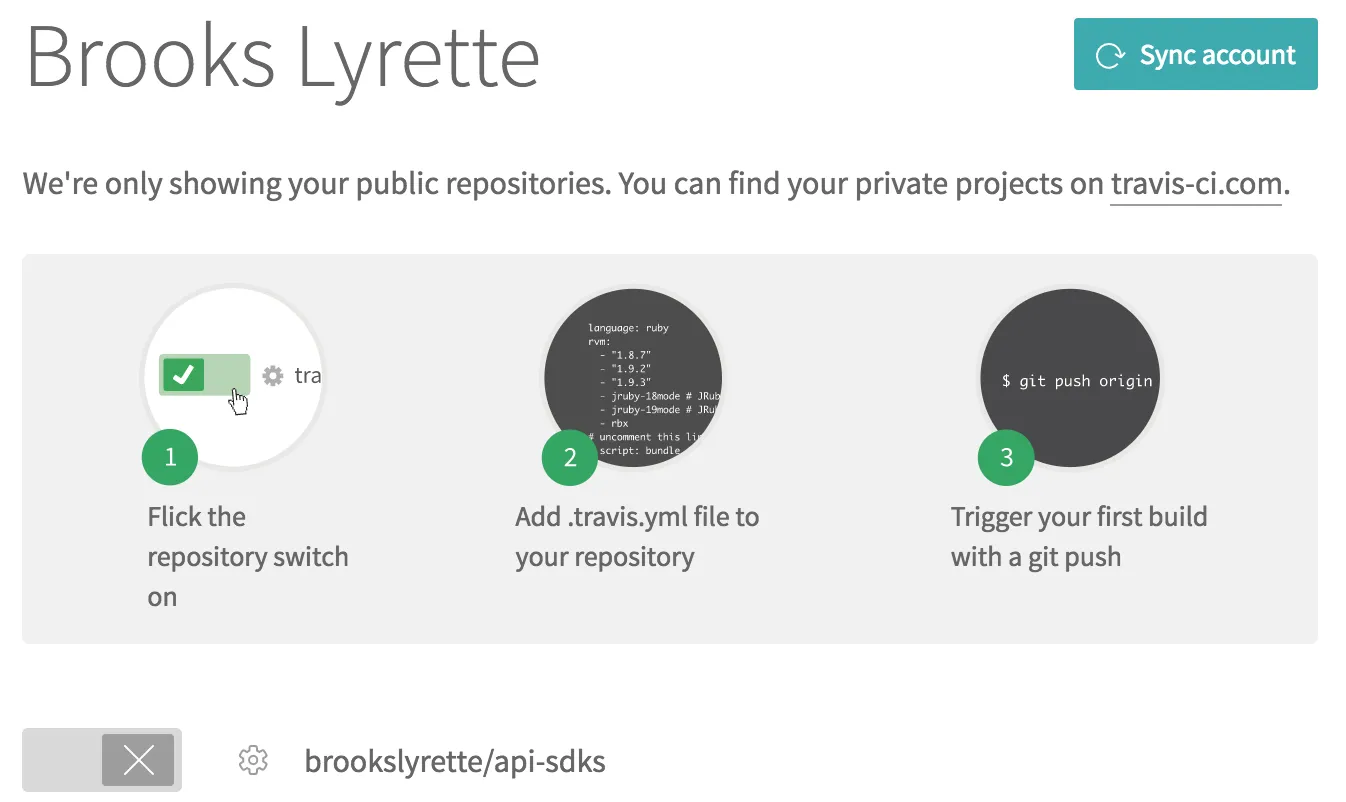
I’ll be setting up this CI pipeline for my sudoku solver app. The first step is to enable builds for this project.

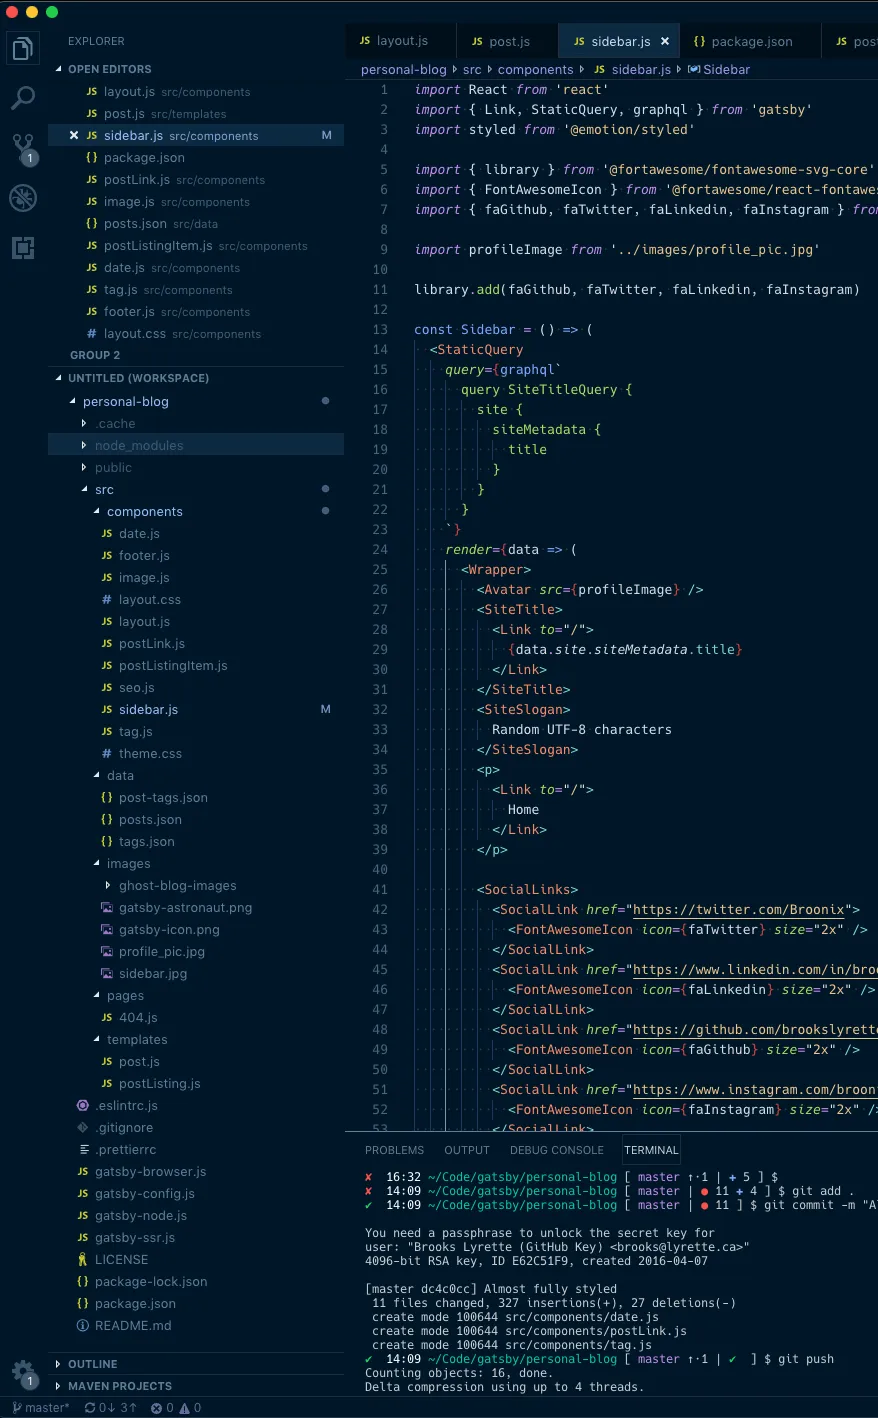
Now that we have configured the project to be built. We have to tell TravisCI how to build our project. We will define how our project is built in a file called .travis.yml.
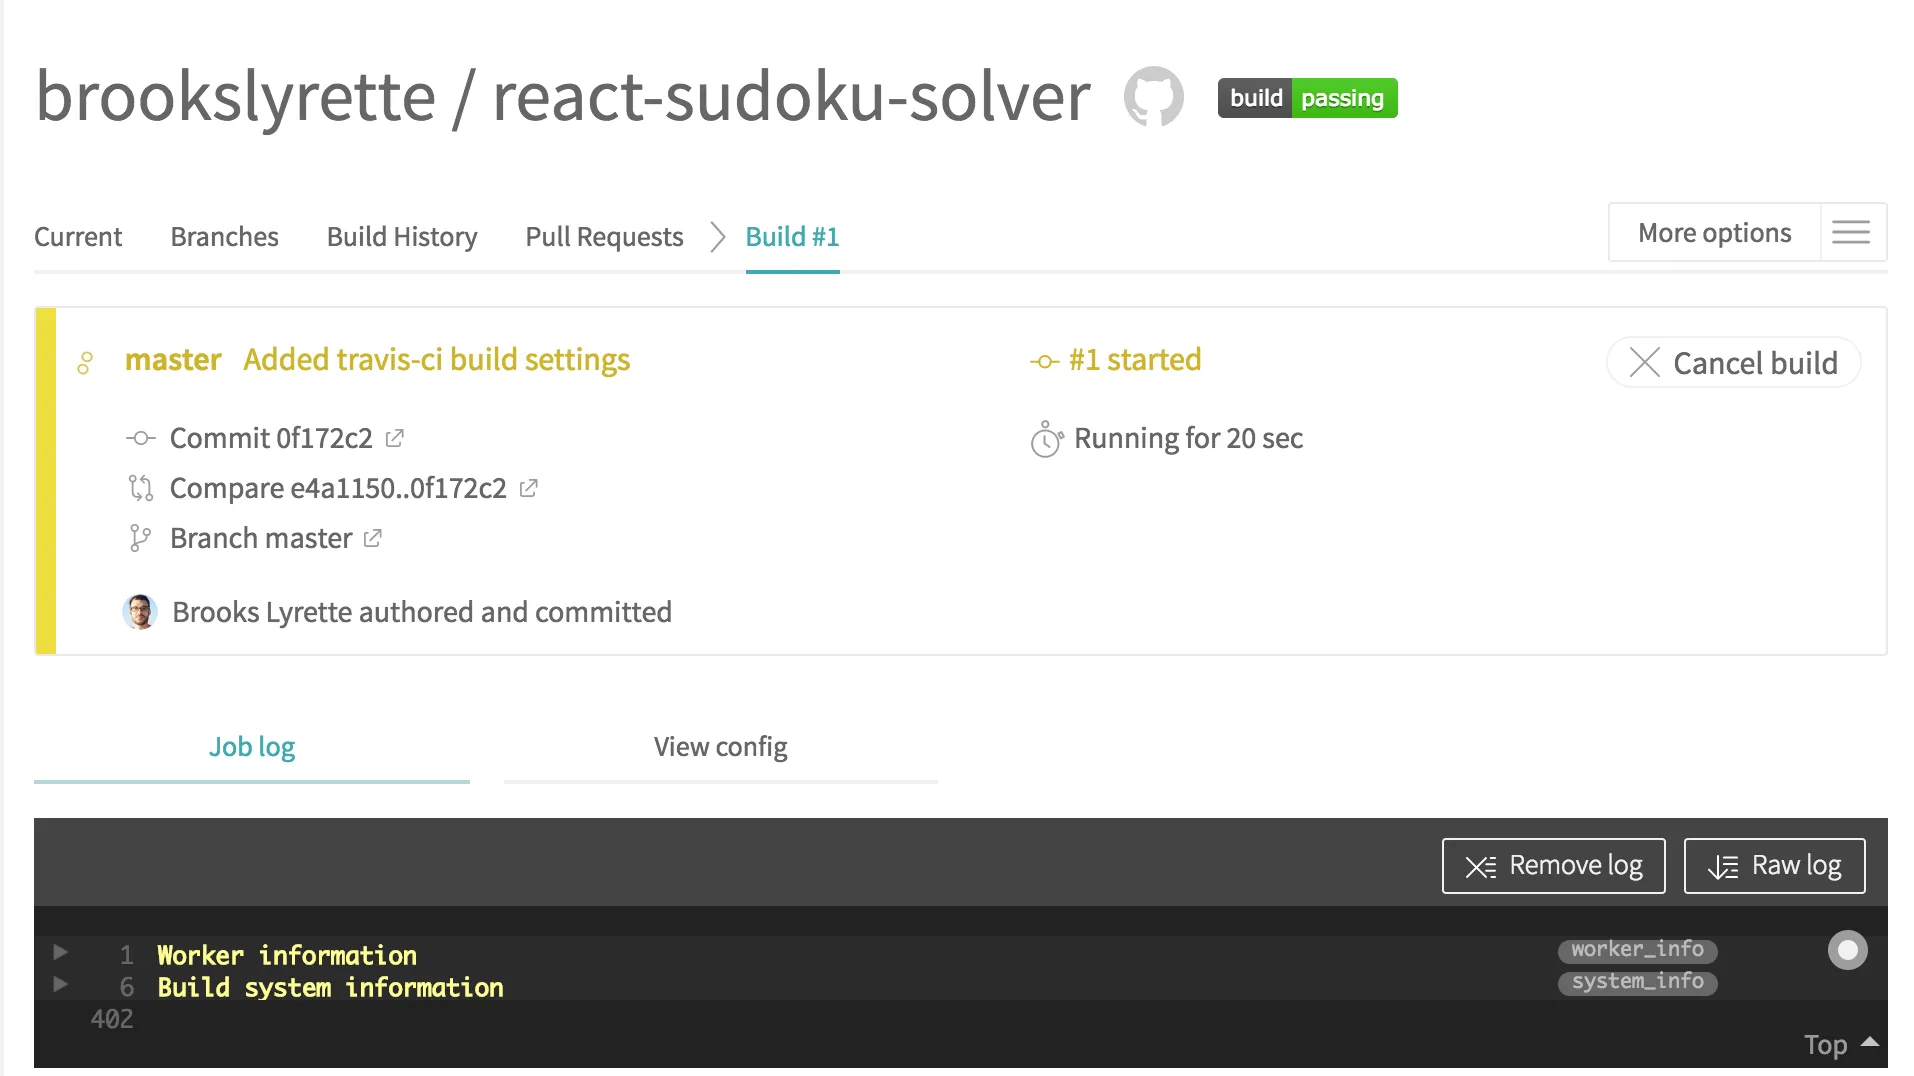
Commit this file and push your changes to GitHub. In a few minutes, you’ll see an automatic build kicked off.
Setting up auto deployment to GitHub Pages
Now that we have the app building on every commit, let’s auto deploy it to GitHub Pages. You will need to create a GitHub access token with the repo security level in order for this to work. To create this token, login to GitHub and create a token here: https://github.com/settings/tokens/new
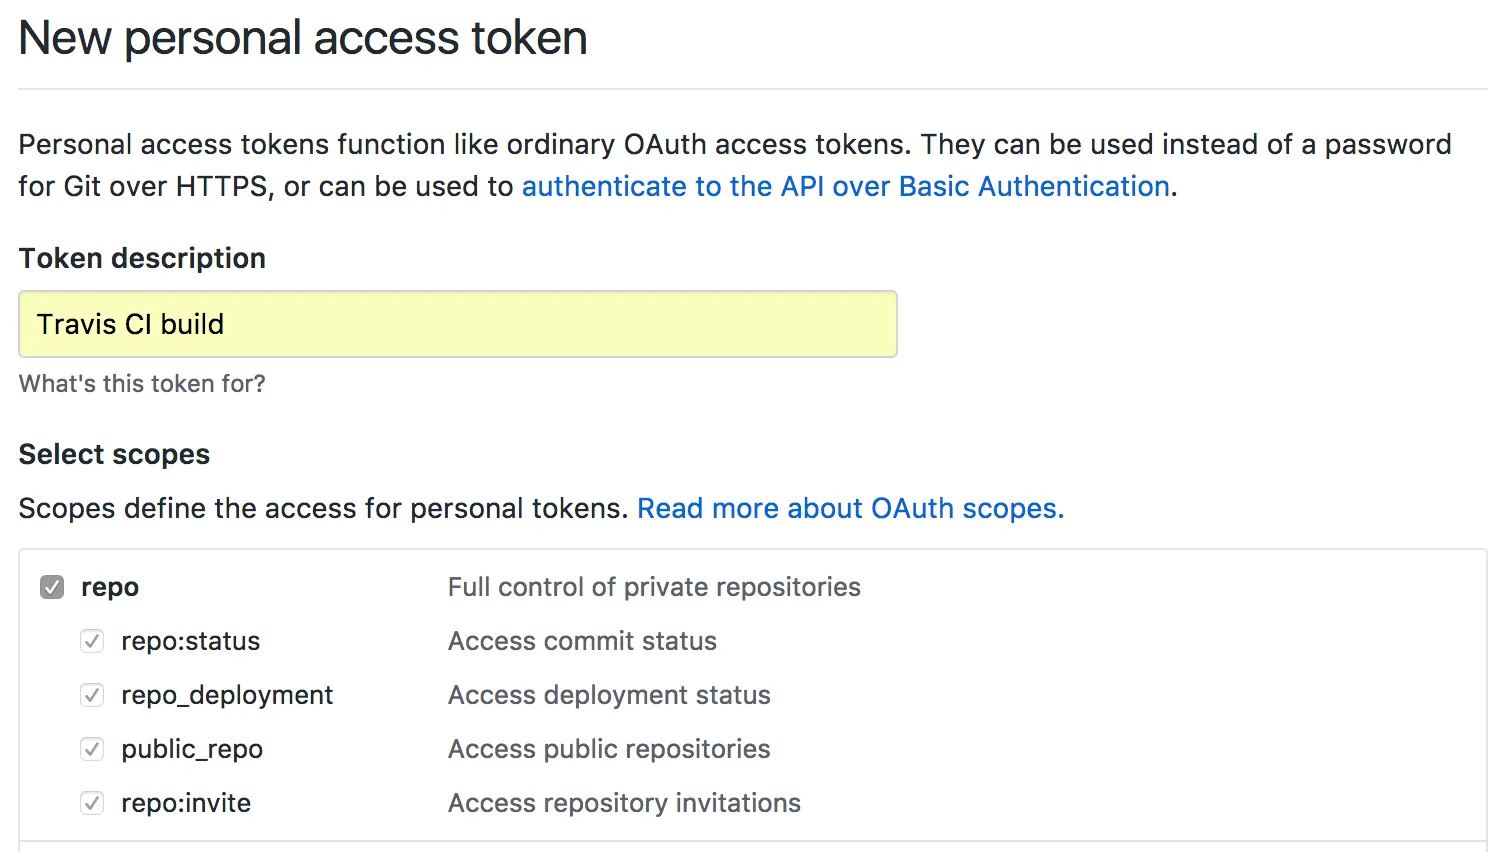
Copy the value of this token. This is a private token that gives access to your GitHub repos. Never check this token into a public repo.
Now we can tell TravisCI about this token. You can do so from the build screen. Navigate to settings and define a token called github_token setting the value to the token you created.

Now we can add the deploy step to our .travis.yml.
We also need to let our app know what it’s URL will be. This is done in the projects packages.json file. For my project this gets set to:
  "name": "sudoku-solver",
  "version": "0.1.0",
  "homepage": "https://brookslyrette.github.io/react-sudoku-solver/",
  "dependencies": {
    "react": "^16.0.0",
    "react-dom": "^16.0.0",
    "react-redux": "^5.0.6",
    "react-scripts": "1.0.14",
    "redux": "^3.7.2"
  },
  ...
}
The format is https://<usename>.github.io/<repository_name>/
Commit and push these changes to your repository. Once the build is complete your application will be deployed.
You can see this in action here: https://github.com/brookslyrette/react-sudoku-solver
If you have any questions please leave them in the comments below. Happy Coding!